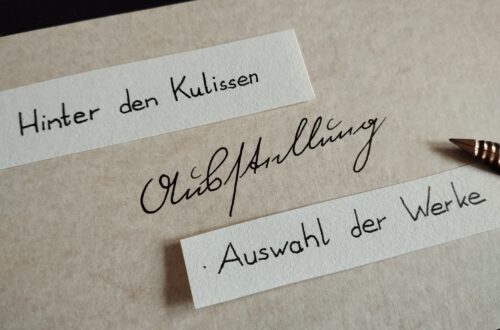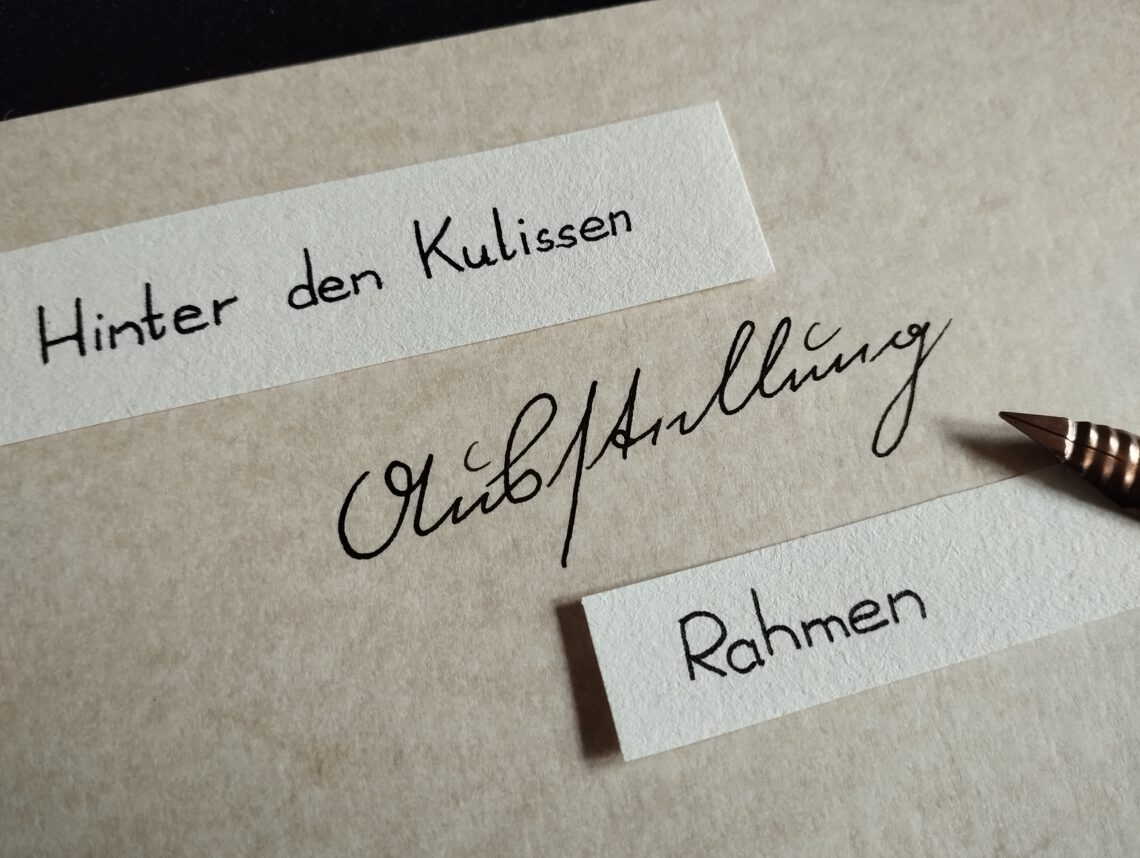
Pt. 3) Meine erste Ausstellung – hinter den Kulissen: Bilderrahmen
Willkommen zum dritten Behind-the-scenes meiner ersten Ausstellung! Ich habe so viel gelernt, was ich gerne mit euch teilen möchte. Heute geht es um das Finden der passenden Bilderrahmen und ich kann euch sagen – es war nervenaufreibend! Viel Spaß!
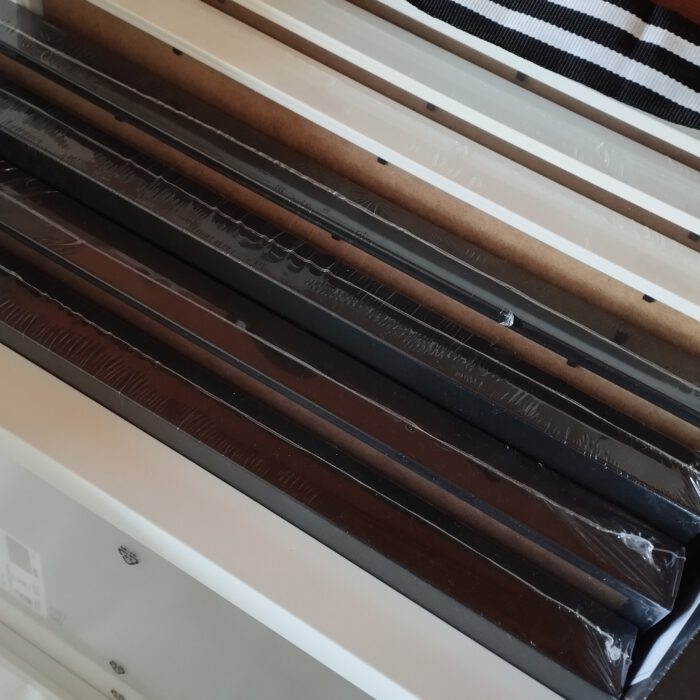
Rahmen! Eine Geschichte voller Chaos und diverser Missverständnisse. Das war wirklich aufregend. Da ich auf Papier und nicht auf Leinwand male, mussten die Bilder für die Ausstellung natürlich gerahmt werden. Tja, zu Hause hatte ich keine einheitlichen Rahmen vorrätig, schon gar nicht in der nötigen Anzahl und Größe.
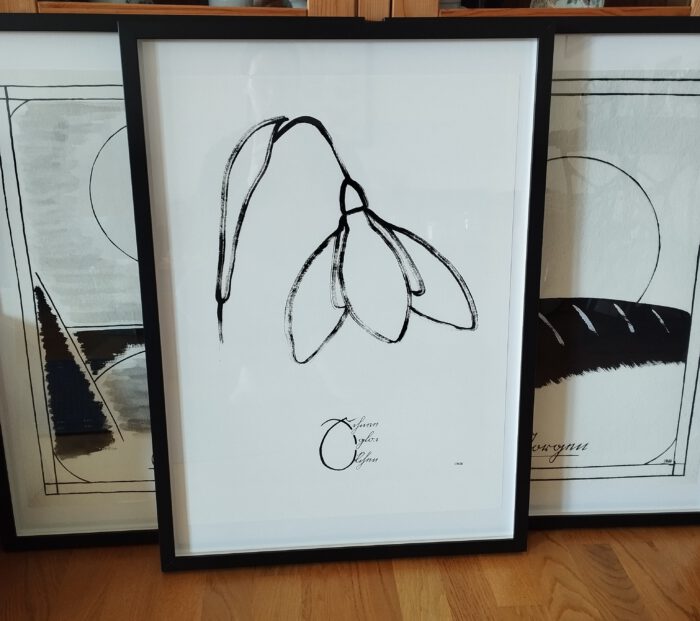
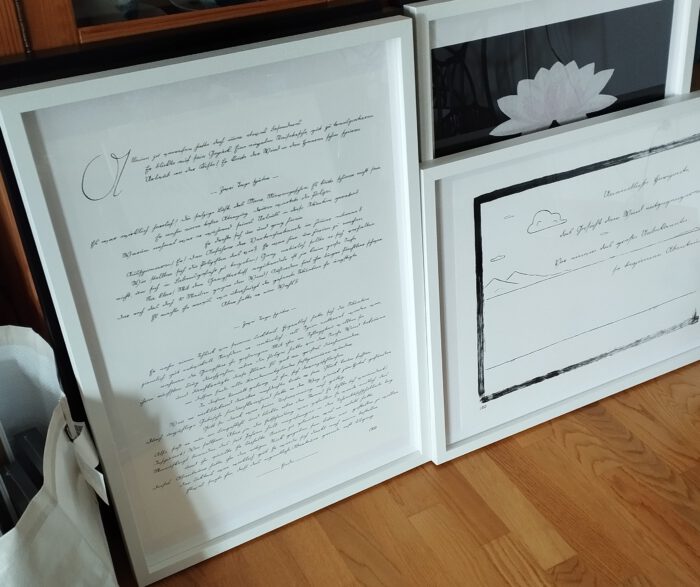
Da fängt es ja schon an. In welchen Formaten sollen welche Bilder hängen? Da ich alle Bilder in mehreren Größen anbiete, war das gar nicht so trivial. Das große Format (45 x 60 cm) wirkt am besten, finde ich, und die Fläche der Galerie gab es her, deshalb hingen die meisten Bilder in diesem großen Format aus. Aber es sollte auch etwas Abwechslung geben und so hingen auch einige Bilder im kleineren Format 30 x 40 cm. Einige A7-Originale wollte ich auch ausstellen, also brauchte es auch kleine Rahmen (10 x 13 cm).
Wichtig war auch, dass die Ösen zum Aufhängen kompatibel mit der Hängevorrichtung der Galerie waren. Es gab also diverse Punkte zu beachten.
Eine weitere Überlegung war, wie die Rahmen optisch aussehen sollten. Von einheitlich schwarz bis “jedes Bild bekommt einen individuellen Rahmen” waren viele Überlegungen dabei. Letzteres verwarf ich allerdings wieder, da es sehr aufwendig erschien – auch wenn die Vorstellung interessant war und schön gezeigt hätte, wie die Bilder in unterschiedlichen Rahmen wirken.
Nun ja, auf ging es also in die Onlinerecherche. Habe ich schon mal erwähnt, dass Rahmen online suchen und kaufen nicht unbedingt zu meinen Lieblingsbeschäftigungen gehört? Schon öfter ist es mir passiert, dass ich – vermeintlich – ultragenau die Größe von Bild, Rahmen (Innen- vs. Außenmaße) und ggf. Passepartout abgestimmt hatte und als der Rahmen ankam, passte es doch nicht. So ärgerlich!
Leider war das auch diesmal der Fall. Ich hatte schöne Rahmen mit Passepartout gefunden, in der richtigen Größe (man konnte aus ungefähr einer Zillionen Formate wählen, überwältigend) und bestellte nun je einen Rahmen in den drei benötigten Größen zum Test. Dachte ich.
Es dauerte einige Zeit, bis die Bestellung ankam. Ich saß schon auf glühenden Kohlen, da es schon fast Mitte Dezember war und in einem Monat die Ausstellung losging! Und ich wartete noch auf meine drei Proberahmen …
Als das Paket ankam, war ich sehr erleichtert und freute mich schon auf das Auspacken. Verwundert war ich, weil das Paket so leicht war. Verdächtig leicht. Oje … Beim Auspacken die Überraschung: Im Paket waren drei Passepartouts! Passepartouts! Ohne Rahmen! Das konnte doch gar nicht sein! Ihr könnt euch vorstellen, wie auf den Arm genommen ich mir vorkam … 🙁 Wie sehr kann eine Rahmenbestellung schiefgehen!?
Da hieß es, nicht lange fackeln: Passepartouts zurückschicken und, es tut mir leid, aber leider muss ich an einem Adventssamstag zum großen bekannten Möbelhaus fahren und Rahmen kaufen. Viele Rahmen. “Kommst du mit, Schatz?” “Ja, na klar” (danke nochmal dafür!). Also auf ins Getümmel!
Und es war eine wirklich gute Entscheidung. Denn vor Ort konnte ich nicht nur den von der Brot-Galerie ausgeliehenen Haken zum Aufhängen an den verschiedenen Rahmen testen (passt er in die Öse?). Es ist auch schön, direkt probieren zu können, ob die Rahmengröße passt und wie das Bild darin wirkt. Genau, ich hatte einige Bilder in verschiedenen Größen zur Probe dabei. Ein schönes Modell war schnell gefunden und von jedem benötigten Format wurden einige schwarze und weiße eingepackt. Etwas mehr, als tatsächlich notwendig, aber so hatte ich etwas Spielraum. Schwupps, war das Auto voller Bilderrahmen und ich maximal erleichtert 🙂

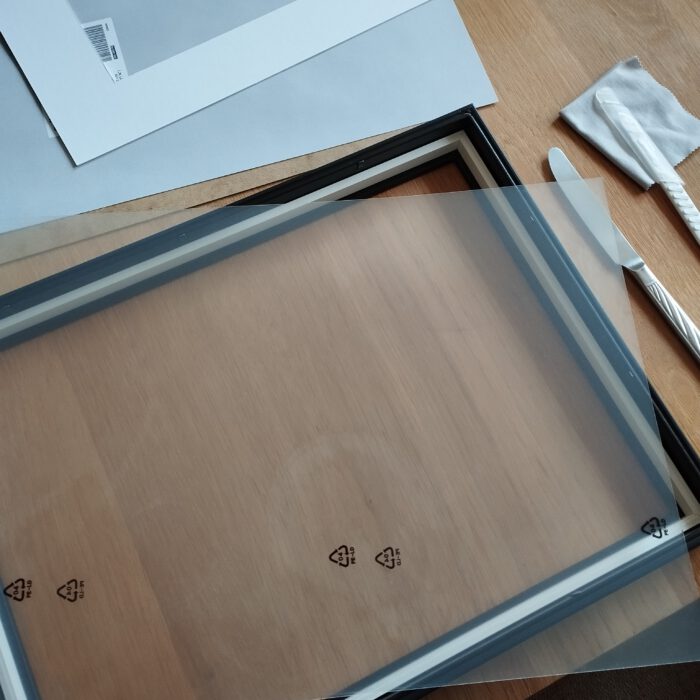
In der Wohnung bot sich anschließend das gleiche Bild: Bilderrahmen überall 😀 Nach und nach machte ich mich ans Rahmen. Zeitaufwendig (sitzt alles mittig? Oh nein, Fusseln zwischen Bild und Glas etc. …), aber auch sehr befriedigend. Die Bilder zum ersten Mal alle einheitlich gerahmt zu sehen, war ein grandioses Gefühl! Sie sehen wirklich gut aus gerahmt 🙂
Der ganze Prozess fühlte sich nach kreativem Chaos an und gleichzeitig war ich mächtig stolz: Ich bereitete meine erste Ausstellung vor!
In riesen Schritten ging es Richtung Ausstellungsbeginn und der Tag des Bilder hängens rückte schnell näher. Lies mehr dazu im nächsten Beitrag!
Alles Liebe
Annika
Die anderen Beiträge zum behind-the-scenes der Ausstellung findest du hier:
*****
EN:
Pt. 3) My First Exhibition – Behind the Scenes: Picture Frames
Welcome to the third installment of my behind-the-scenes series on my first exhibition! I’ve learned so much that I’d love to share with you. Today’s topic is finding the right picture frames, and let me tell you—it was nerve-wracking! Enjoy!
Frames! A story full of chaos and all sorts of misunderstandings. That was really exciting. Since I paint on paper and not on canvas, the paintings had to be framed for the exhibition. Well, I didn’t have any matching frames in stock at home, certainly not in the necessary quantity and size.
That’s where it all starts. In which formats should which paintings be hung? Since I offer all my paintings in multiple sizes, that wasn’t so trivial. I think the large format (45 x 60 cm) looks best, and the gallery space allowed for it, so most of the pictures were displayed in this large format. But there needed to be some variety, so a few pictures were also hung in the smaller 30 x 40 cm format. I also wanted to exhibit some A7 originals, so I needed small frames (10 x 13 cm) as well.
It was also important that the hanging eyelets were compatible with the gallery’s hanging system. So there were various points to consider.
Another consideration was what the frames should look like. From uniformly black to “each picture gets its own individual frame,” there were many ideas to weigh. I ultimately rejected the latter, however, because it seemed like too much work—even though the concept was interesting and would have nicely shown how the artworks look in different frames.
Well, so off I went to do some online research. Have I ever mentioned that searching for and buying frames online isn’t exactly one of my favorite pastimes? It’s happened to me more than once that I’d—supposedly—meticulously matched the size of the picture, the frame (inner vs. outer dimensions), and, if applicable, the mat, only to find that when the frame arrived, it didn’t fit after all. So frustrating!
Unfortunately, that was the case this time, too. I’d found some beautiful frames with mats, in the right size (you could choose from about a zillion formats—overwhelming), and ordered one frame in each of the three sizes I needed to test. Or so I thought.
It took quite a while for the order to arrive. I was already on pins and needles, since it was almost mid-December and the exhibition was starting in a month! And I was still waiting for my three sample frames…
When the package arrived, I was very relieved and was already looking forward to unpacking it. I was puzzled because the package was so light. Suspiciously light. Oh no… When I unpacked it, the surprise: The package contained three mat boards! Mat boards! Without frames! That couldn’t be right! You can imagine how taken for a ride I felt… 🙁 Just how badly can a frame order go wrong!?
So there was no time to waste: send the mats back, and—sorry about this—but unfortunately I had to drive to that big, well-known furniture store on an Advent Saturday to buy frames. Lots of frames. “Are you coming with me, honey?” “Yeah, sure” (thanks again for that!). So off into the fray!
And it was a really good decision. Because once there, I could not only test the hooks borrowed from the Brot-Galerie for hanging the various frames (does it fit in the eyelet?). It’s also nice to be able to try right away whether the frame size fits and how the painting looks in it. Exactly, I had brought along a few prints in different sizes to test. I quickly found a nice model and packed up a few black and white ones in every size I needed. A bit more than was actually necessary, but that gave me some leeway. In a flash, the car was full of picture frames and I was incredibly relieved 🙂
Back at the apartment, it was the same scene: picture frames everywhere 😀Little by little, I got to work framing them. Time-consuming (is everything centered? Oh no, lint between the picture and the glass, etc. …), but also very satisfying. Seeing all the pictures uniformly framed for the first time was a fantastic feeling! They really look good framed 🙂
The whole process felt like creative chaos, and at the same time I was incredibly proud: I was preparing my first exhibition!
We were making great strides toward the start of the exhibition, and the day for hanging the pictures was fast approaching. Read more about it in the next post!
Biggest cheers
Annika
Find the other behind-the-scenes posts about the exhibition here:


Das könnte dich ebenfalls interessieren

Pt. 1) Meine erste Ausstellung – hinter den Kulissen: Die Anfrage und über den eigenen Schatten springen

Pt. 4) Meine erste Ausstellung – hinter den Kulissen: Bilder hängen